I’ve been dreaming of and plotting for a greenhouse for years. The inspiration for our greenhouse came from this video on YouTube. After considering a variety of different styles (pvc, cattle panel, hoops, etc.) we opted for this design for a few reasons. It will reputably stand up to strong coastal winds and heavy snow. The materials were available locally, and we didn’t need to purchase special tools necessary for bending hoops.
Like all of our projects, it started with a plan that Paul drew up in CAD. Inevitably we hit the point where we flew by the seat of our pants and made things up as we went along.
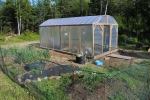
We had such good luck with our hugelkulture gardens last year, that I wanted to try hugelkultures inside the greenhouse. Here’s a look at the greenhouse construction. Click on the thumbnails to scroll through larger images.
- Mapping out the greenhouse last October.
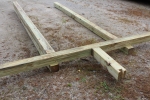
- The major supports of the greenhouse are three frames that create the walkway and support the roof.
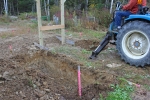
- We planted one of the frames and then lined up the other two from this one, digging the hugelkulture ditches as we went.
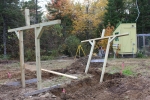
- Here’s the second frame going in.
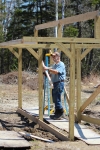
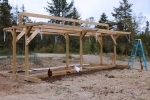
- With all three frames in, we braced it with decking and didn’t revisit the structure until the spring.
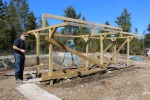
- A ridge pole connects the three uprights.
- The upright “Ts” are connected with side horizontals.
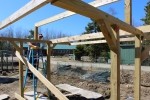
- Internal cross pieces also help to tie the three uprights together.
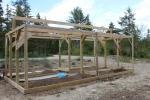
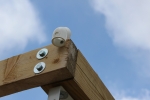
- Brackets are installed to hold six primary outer uprights in place.
- Here the outer uprights are in place and the boards to create the raised beds have been installed.
- The hoops that shape the roof are made with PVC that bends over the ridge pole. They are attached to the structure with these 45 degree PVC joints.
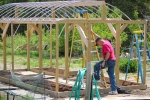
- The last few hoops are going in place.
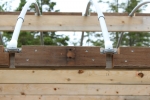
- For extra support, Paul added brackets over the PVC elbows. In between the brackets, he added wood blocks to give the plastic an even surface to lay across.
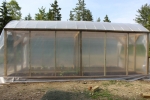
- We purchased four-year greenhouse plastic. This one sheet will cover the roof and sides. It’s laying in the sun warming up to make it easier to work with.
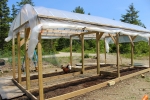
- It was a breezy day when we muscled the plastic on. A piece of cedar lath screwed on sandwiches the plastic to the side.
- After much consideration, I decided to fasten the plastic to the sides of the greenhouse permanently rather than leaving it to roll up. Our summers are so short and after installing the plastic on a breezy day, rolling plastic up when necessary just seemed like too much trouble.
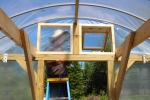
- Even though there are doors at both ends, we installed upper vents to ensure the temperature doesn’t go too high. For now I open the vents manually, but I plan to purchase an automatic opener. Another side benefit of the vents is that they provide an escape for all the flying bugs that find their way in but cannot get out.
- Paul is securing the plastic to the frame. A piece of lathe is tacked on over the plastic. The plastic is pulled back over the lathe and is held in place with a second piece of lathe to ensure the plastic won’t pull out.
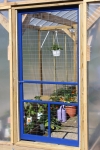
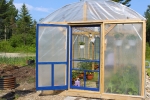
- Both doorways have screens made with welded wire to allow for air flow. Each end will soon get a solid plastic door to hold in heat.
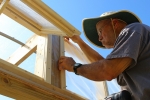
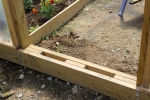
- Paul built a threshold to help frame in the doors.
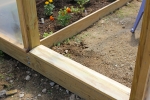
- A beveled sill plate is screwed to the threshold framework to encourage rain water to run off.
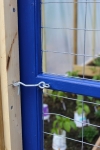
- A simply hook and eye keep the door closed and the chickens and ducks out.
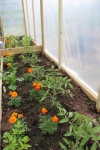
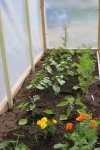
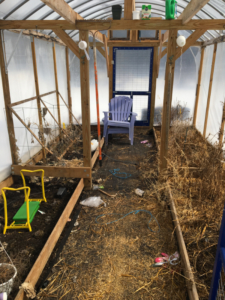
- Tomatoes and peppers line one side of the greenhouse.
- Squash, beans, cucumbers and chard line the other.
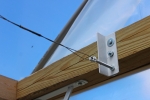
- A wire runs overhead from end to end. I’ll use this wire to string up tomatoes when the plants get larger. Paul created these brackets that use a bolt to tighten the wire.
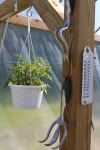
- Hooks for hanging baskets have been installed. Here are tumbling tom tomatoes.
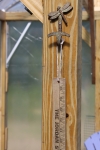
- Dragonfly hooks I picked up years ago and have never used are perfect for holding a yard stick and garden snips.
- Time will tell how the greenhouse holds up in our crazy Maine weather. There’s a lot I need to learn about using the greenhouse and have likely already made mistakes. Live and learn!
- Photo of outer door added June 11.
A few notes about the greenhouse.
- We used pressure treated wood for all of the wood pieces that come into contact with the dirt.
- We used left over cedar lathe given to us to fasten the plastic to the framework.
- This is where we purchase our four-year greenhouse plastic.
- My hope is to add gutters to the sides and have the runoff flow into a couple of rain barrels to use for watering.






Thank you for the video link, that will certainly help.