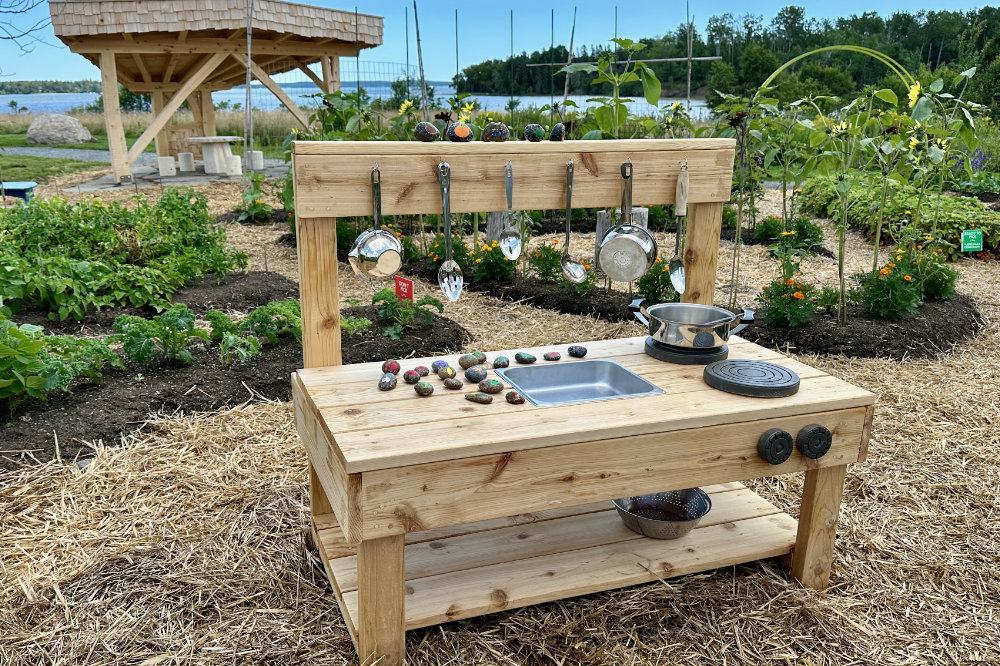
When I came home one day with a picture of a “mud kitchen” and asked Paul if he would make me, he agreed – as he almost always does when I volunteer him for a project. He’s been busy working on my Women for Healthy Rural Living “honey do” list this summer. In June, he finished building two small walls in our office to enclose our space and added doors. This was no easy, quick project like I envisioned – trying to make anything level and plumb in a 150-year-old building is a challenge.

Now he’s finished project #2 – the “mud kitchen” for the Children’s Garden at Milbridge Commons. A mud kitchen is an outdoor kitchen where kids can play pretend. Installed today; it was a hit.
It’s 4’ wide, 2’ deep, and 2’ high at the countertop. The wood stove knobs turn, and the wooden “burners” are stationary as they would be if they were real. Donated old pots, pans, and cooking utensils add to the kitchen vibe. You can learn more about this project in Paul’s video here.
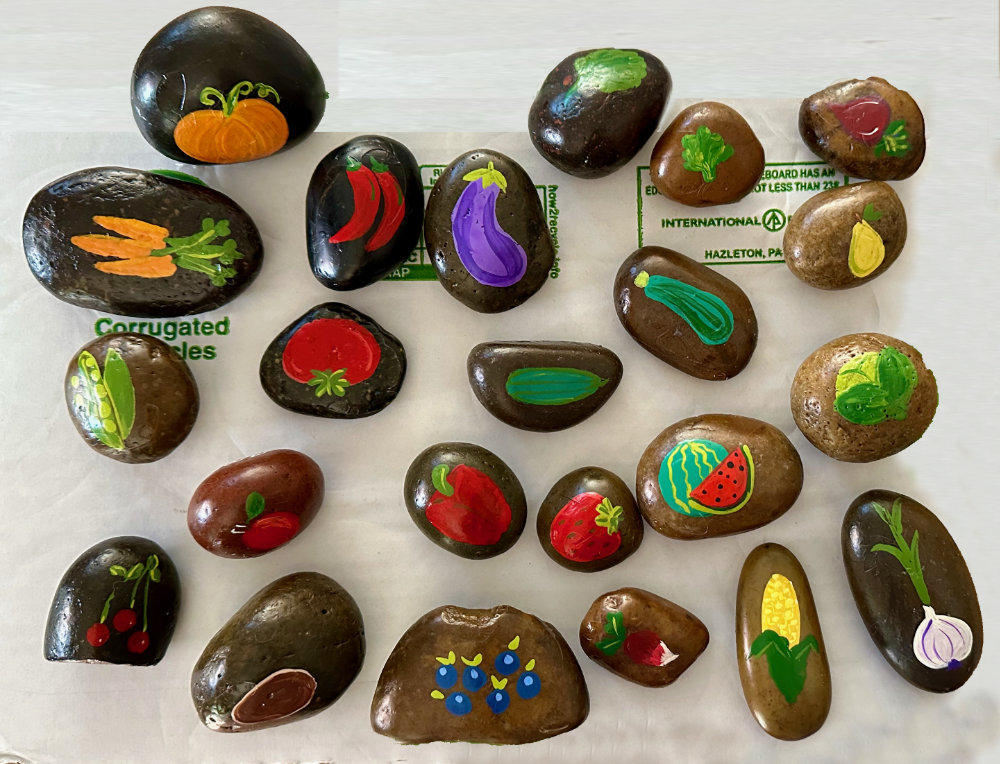
I spent a Sunday afternoon painting vegetables and fruit on rocks – things you’d likely find in our Incredible Edible garden at the Commons. Painted with acrylics and finished with outdoor polyurethane, I thought they’d add a fun touch to the whole. And they did, but they didn’t survive the first pair of children to play with them. Stirring all those rocks around in a pot cracked the paint and poly. I’ll need to come up with something else to replace them – maybe wood.
Now onto Honey Do #3 – an outdoor fountain for my wild and crazy garden. More to come on this!


I love the idea of this! and I’m surprised the paint didn’t last on the rocks?? I’ve had painted rocks in my garden for years, painted by my grandkids – sometimes I’ve wished the paint wouldn’t last QUITE so long?? Perhaps you’re right – wood would be lighter, and “stir” easier??
These tykes were rough with them! Not exactly how I anticipated they would be used, but they had fun!